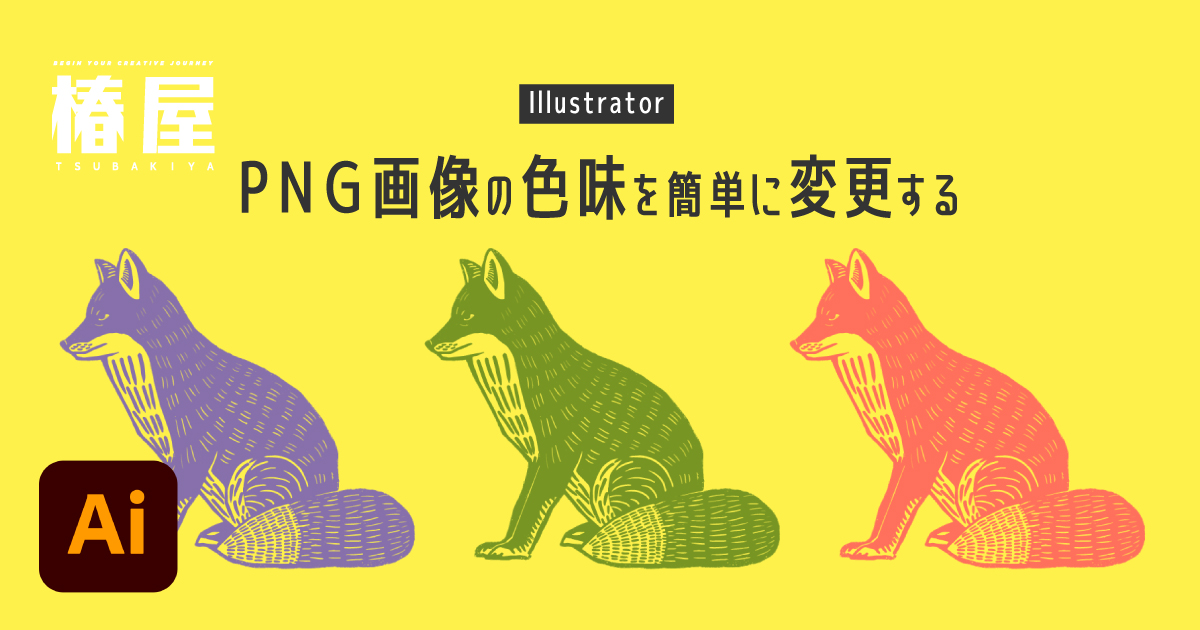
IllustratorでPNG画像の色は変更できないと思っていませんか?実は、Photoshopを使わずに画像の色を変更できる簡単な方法があるんです。今回は、マスクを使って、PNG画像の色味を変更する方法を、初心者の方にも分かりやすく解説します。

PNG画像の色味を変更する
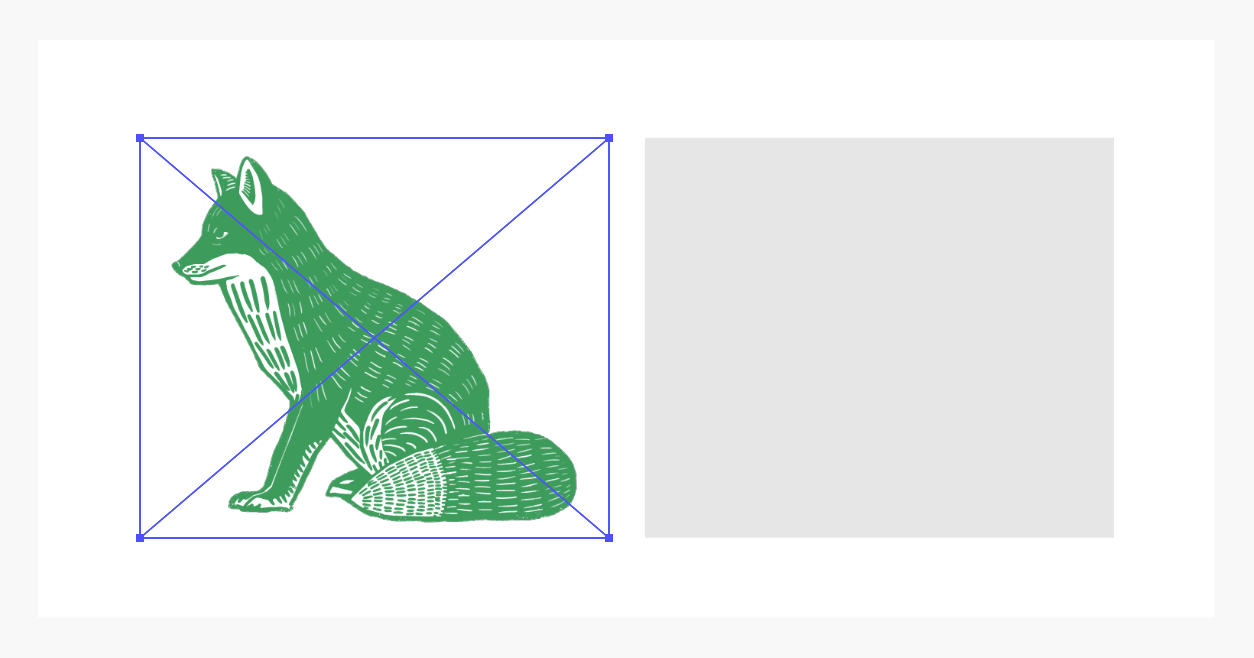
今回はこちらのPNG画像を使って解説していきたいと思います。
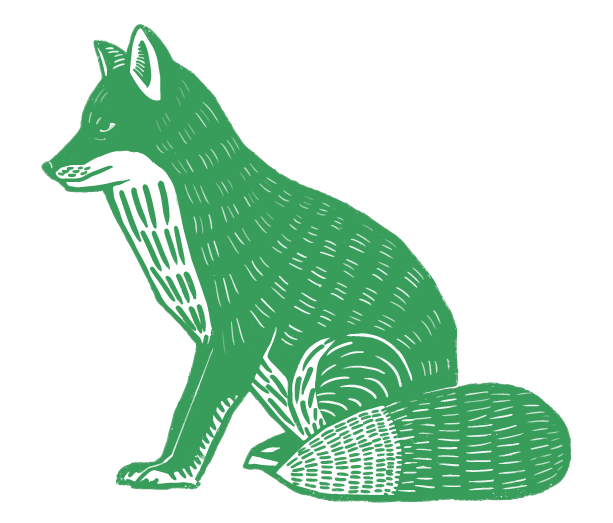
背景が白ければJPEGでも同じ手順で色味を変更できます。
長方形を作成する
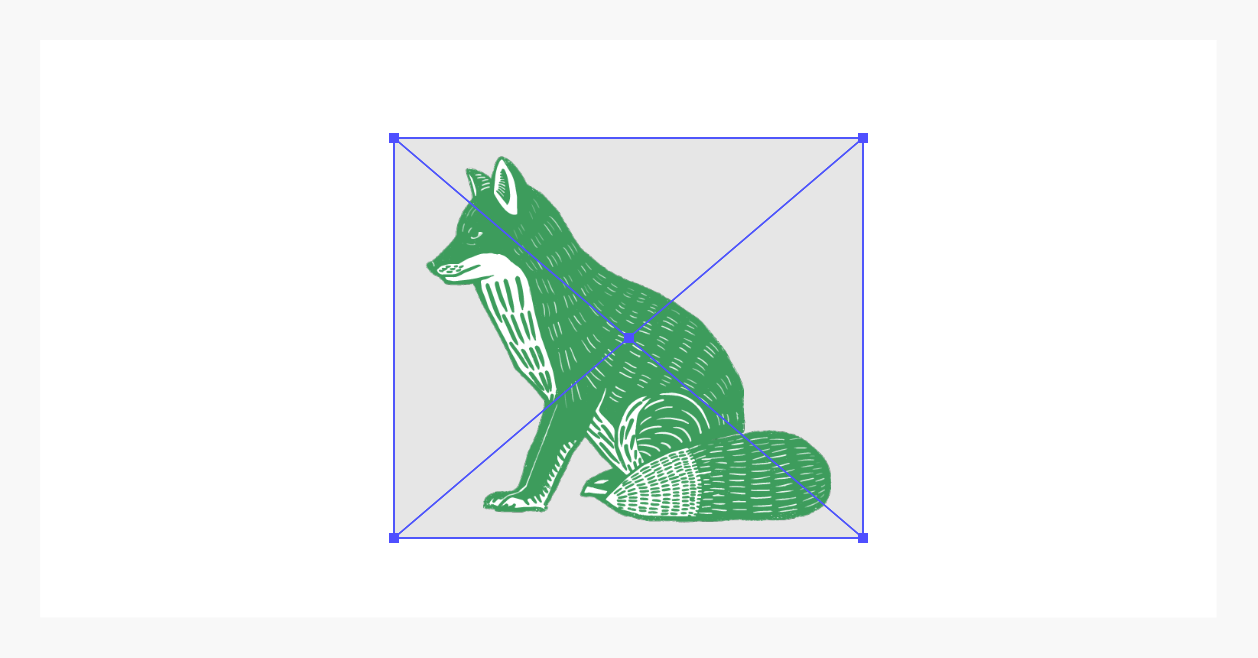
IllustratorでPNG画像を開いたら、長方形ツールでPNG画像と同じサイズの長方形を描きます。
長方形レイヤーをPNG画像の下に移動させて、ふたつの画像を重ねます。
マスクを作成する
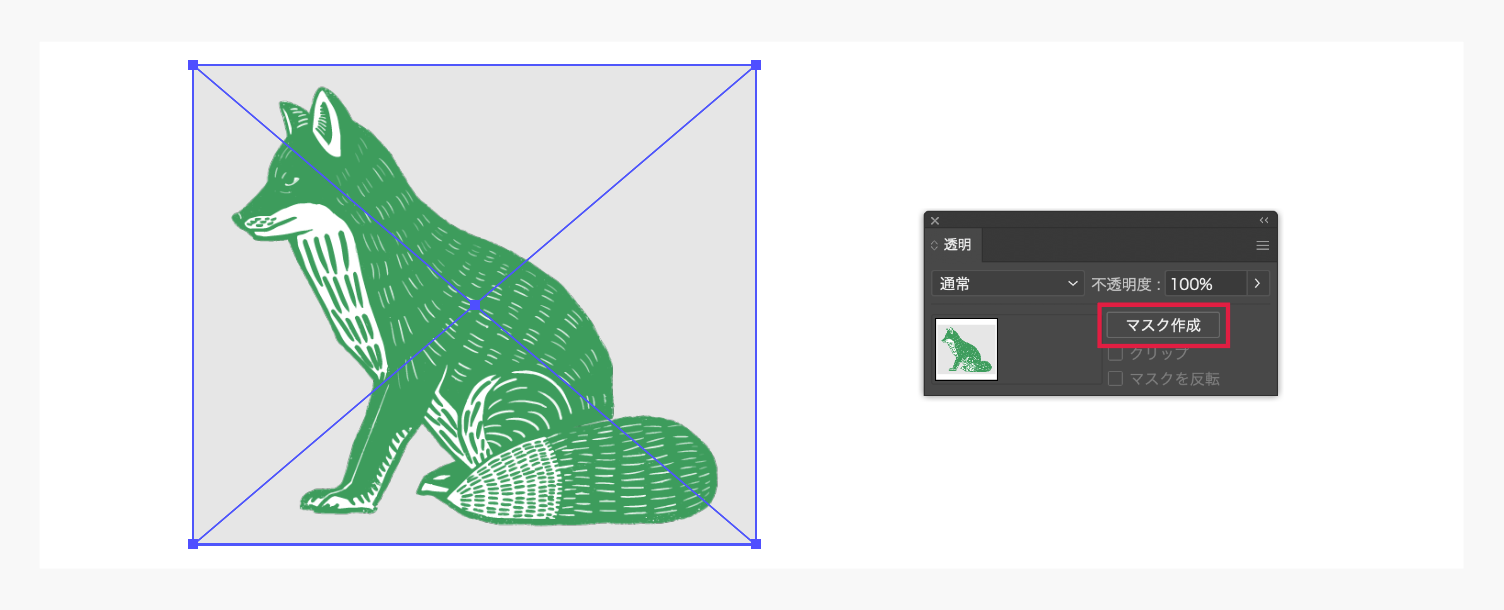
次に上部メニューの「ウィンドウ」>「透明」を選択して、透明パネルを表示します。

PNG画像と長方形の両方を選択した状態で、透明パネル内の「マスク作成」をクリックします。
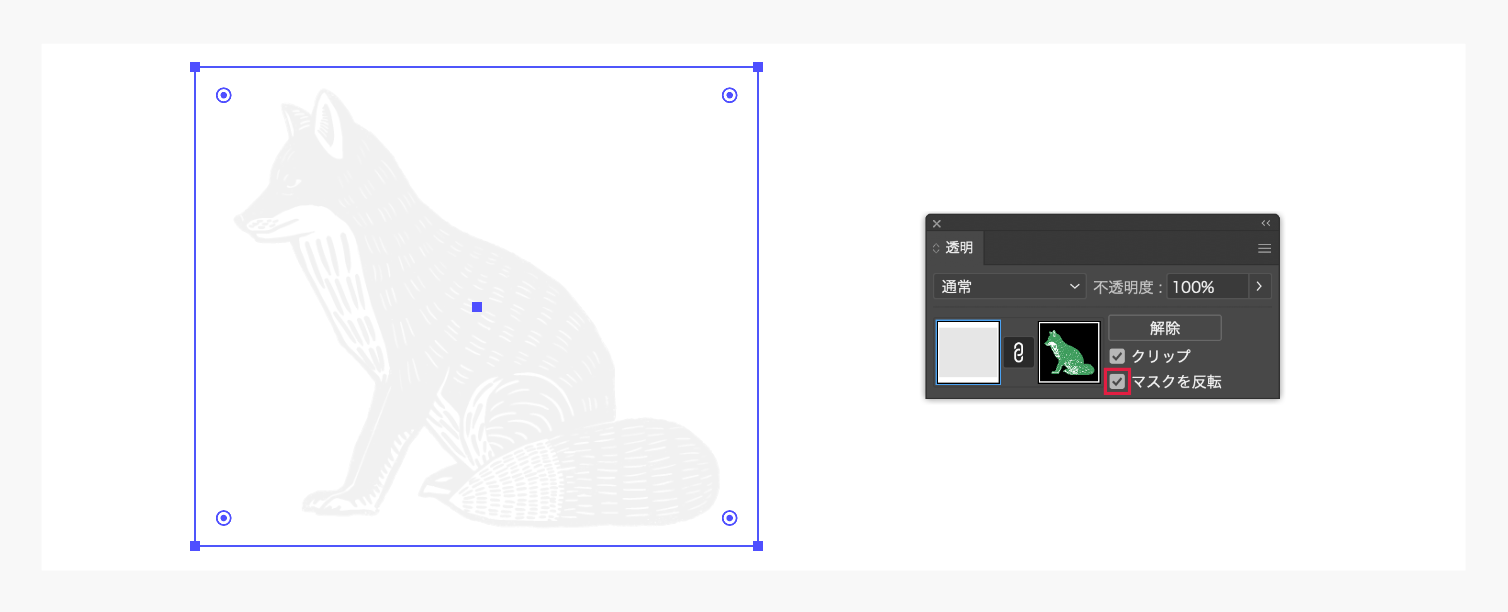
マスクが作成されるので、続いて「マスクを反転」にチェックを入れます。
色を変更する
マスクができたら、上部メニューの「ウィンドウ」>「カラー」を選択して、カラーパネルを表示します。この際、透明パネルとカラーパネルを同じタブにまとめておくと便利です。

ウィンドウのタブをまとめるには、パネルのタブをドラッグ&ドロップで別のパネルに重ねます
透明パネル内の、左のプレビュー画面を選択した状態で、カラーパネルから好きな色を選択します。
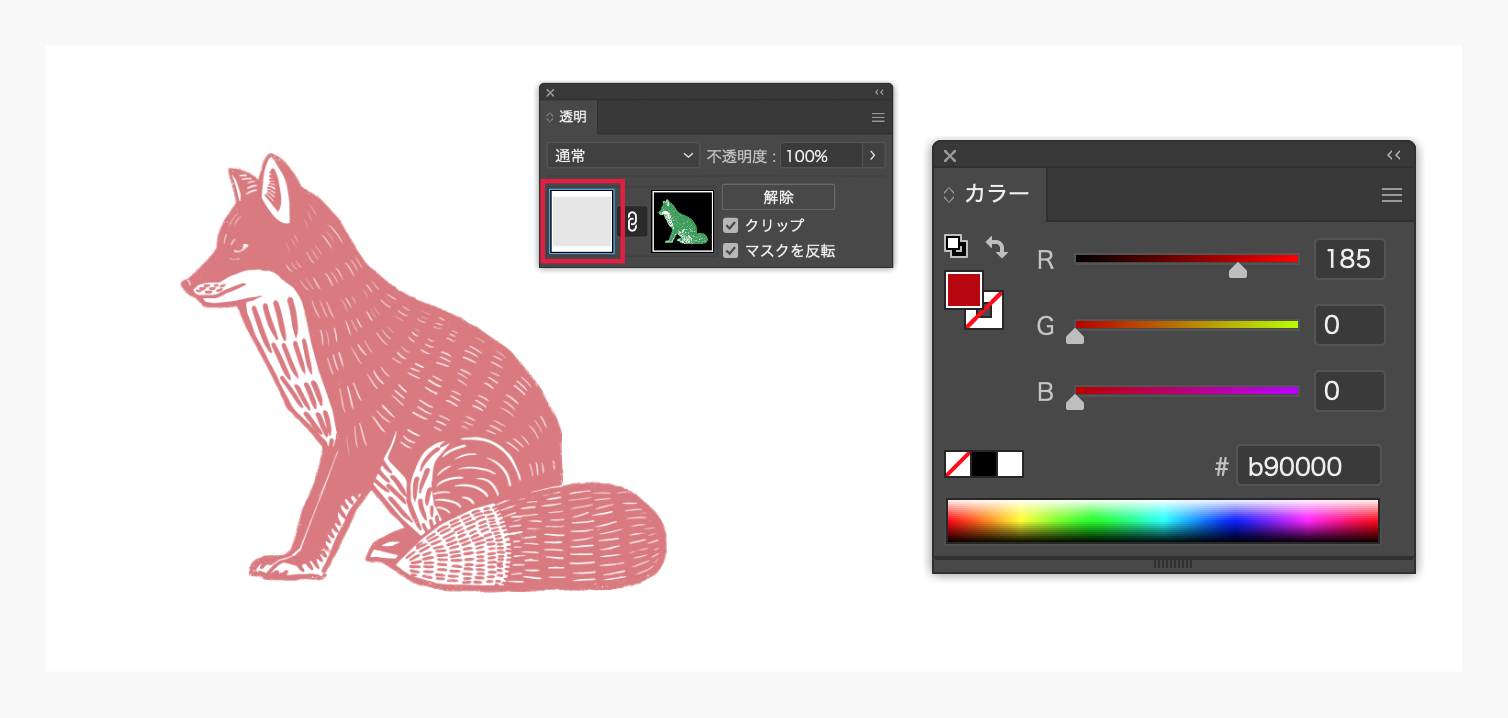
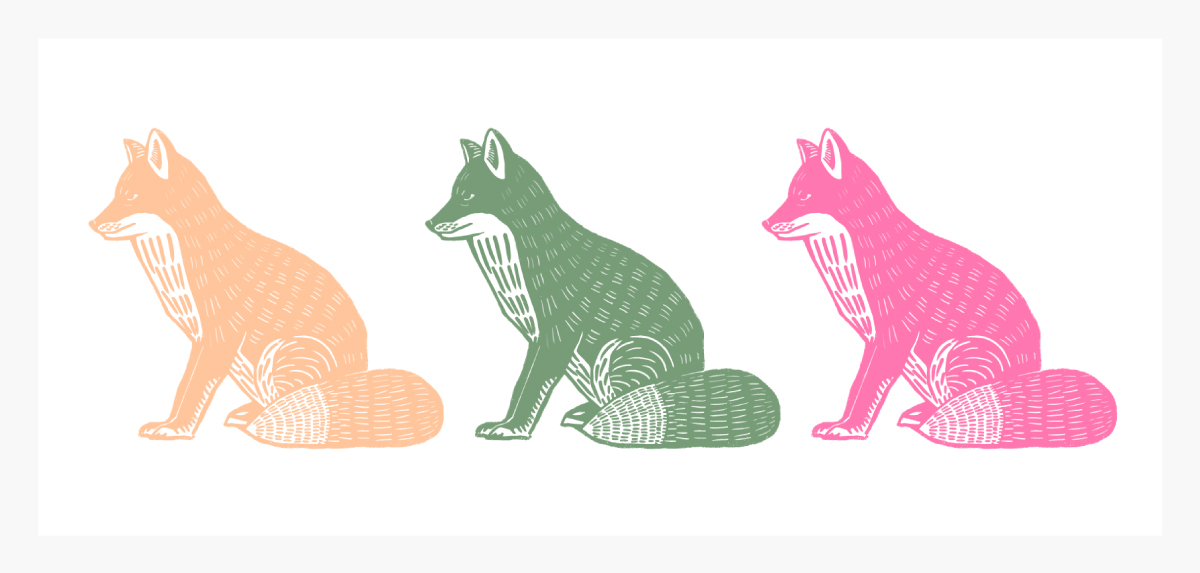
PNG画像の色味が変更できました。
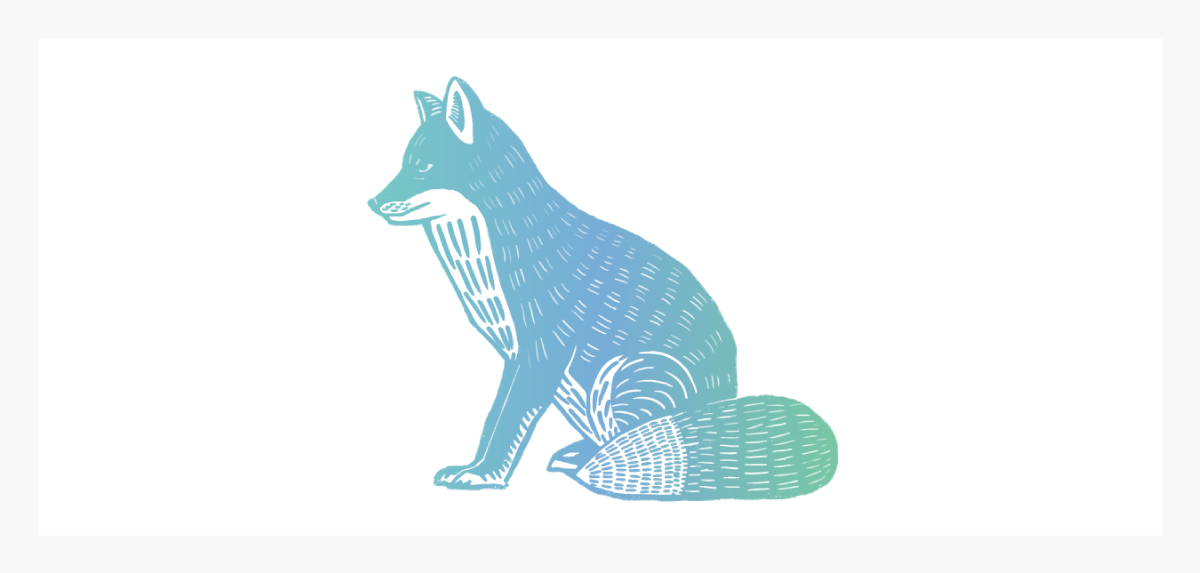
グラデーションを適用することもできます。
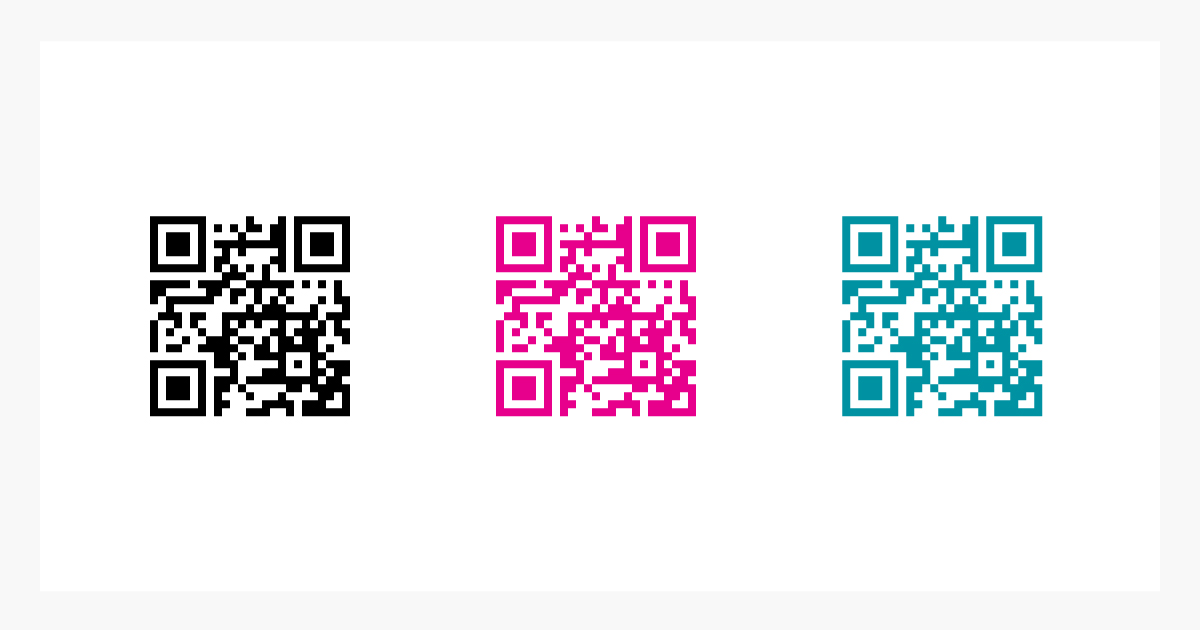
QRコードの色も簡単に変えられるのは便利です。私はこの方法を知るまで一旦ベクターデータにしてから色変更をしていたので、作業がかなり楽になりました。
今回の記事のまとめ
今回は、Illustratorのマスク機能を使って、PNG画像の色味を簡単に変更する方法をご紹介しました。この方法は単色の画像の色変更に適しており、色の濃淡は表現できますが、仕上がりは単色になります。複数色の画像の色変更には、Photoshopを使用することをおすすめします。